Request a Demo
  • Platform
    • Donations
    • Campaigns
    • Events
    • eCards
    • CRM
  • Features
  • Integrations
  • Support
  • Company
  • Platform
    • Donations
    • Campaigns
    • Events
    • eCards
    • CRM
  • Features
  • Integrations
  • Support
  • Company
Request a Demo

Donations

  • Creating On-Page Donation Forms
  • How to configure a sponsorship opportunity donation form
  • How to setup a variations donation form
  • Overview of Donation Forms on LevCharity

Crowdfunding Campaigns

  • Creating a Crowdfunding Campaign at LevCharity
  • Setting Up Crowdfunding Campaigns
  • Crowdfunding Sign-Up Procedure
  • Creating Crowdfunding Emails on LevCharity Platform
  • Exporting Data for Team Campaigns

Integrations & Settings

  • Setting Up Donation Forms in Plugin
  • Crowdfunding Account Sign-Up Settings

Events

  • Creating Events Using the Events Module
  • Creating and Managing Events in the Back-End System
  • Creating an Event Using the OLD Template in Fundraise
  • Creating and Managing Events Using Single and Multiple Templates
  • Setting Up Emails for Events
  • Exporting Event Data from LevCharity Platform
  • Creating Event Digital Ads

E-Cards

  • Creating E-Cards
  • Managing E-Cards
  • Setting Up E-Card Email Notifications

Fundraising Campaigns

  • Creating a Fundraising Campaign on LevCharity Platform
  • Standard Operating Procedure for Managing Fundraising Campaigns

Configure

  • Setting Up Donation Receipts
  • Adding Sponsorship Equipment Pieces to Your Site

Transactions

  • Managing Transactions in the Admin Back-End
View Categories

Creating E-Cards

1 min read

Objective #

This SOP outlines the steps to create and send e-cards through our system, ensuring clarity and efficiency for team members.

Key Steps #

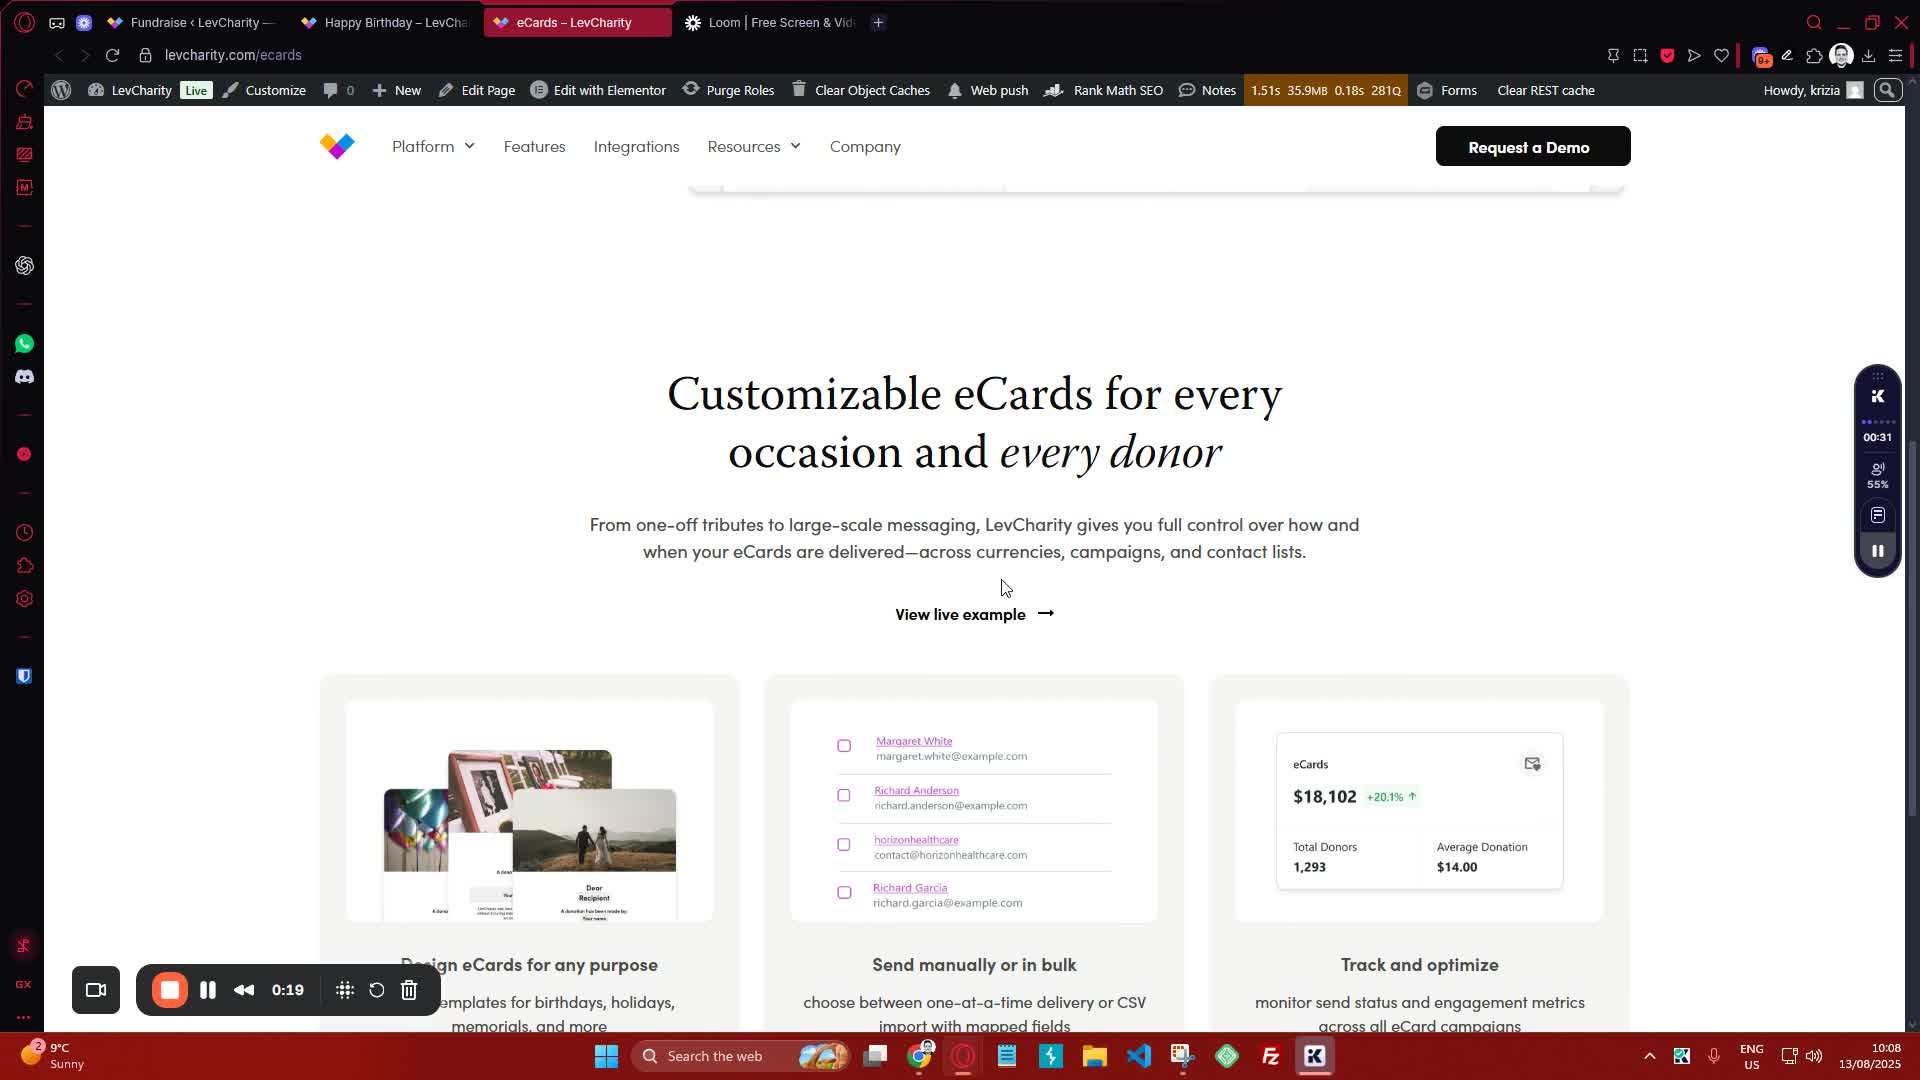
1. Overview of E-Cards 0:00

  • E-cards allow users to send greetings for specific occasions.
  • Familiarize yourself with the e-card setup process.

2. Setting Up the E-Card 0:20

generated-image-at-00:00:20
  • Open the e-card setup interface.
  • Customize the header and footer as needed.

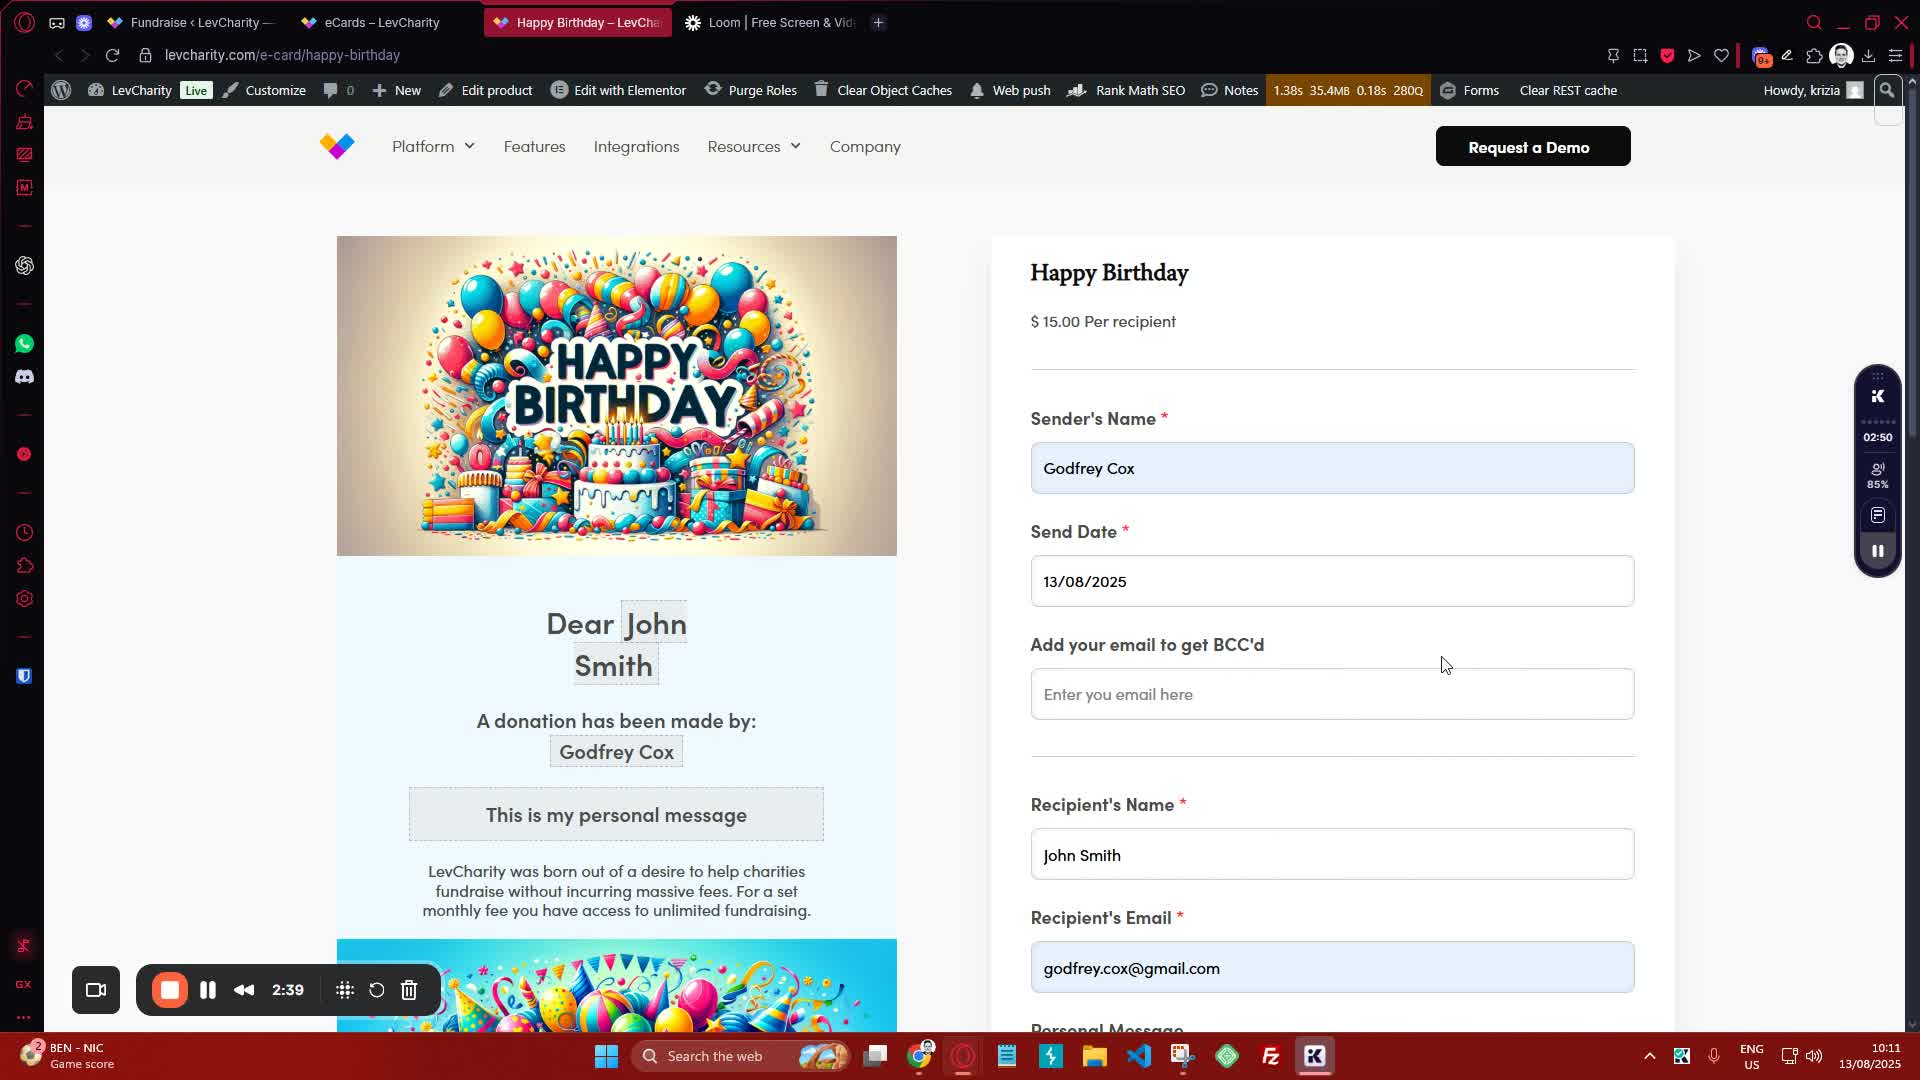
3. Inputting E-Card Information 0:32

generated-image-at-00:00:32
  • Fill in the static information outside the dotted box.
  • Enter dynamic information in the dotted box:
    • Sender’s name
    • Recipient’s name
    • Recipient’s email
    • Personal message
    • Date for sending the e-card.

4. Adding Additional Recipients 1:45

generated-image-at-00:01:45
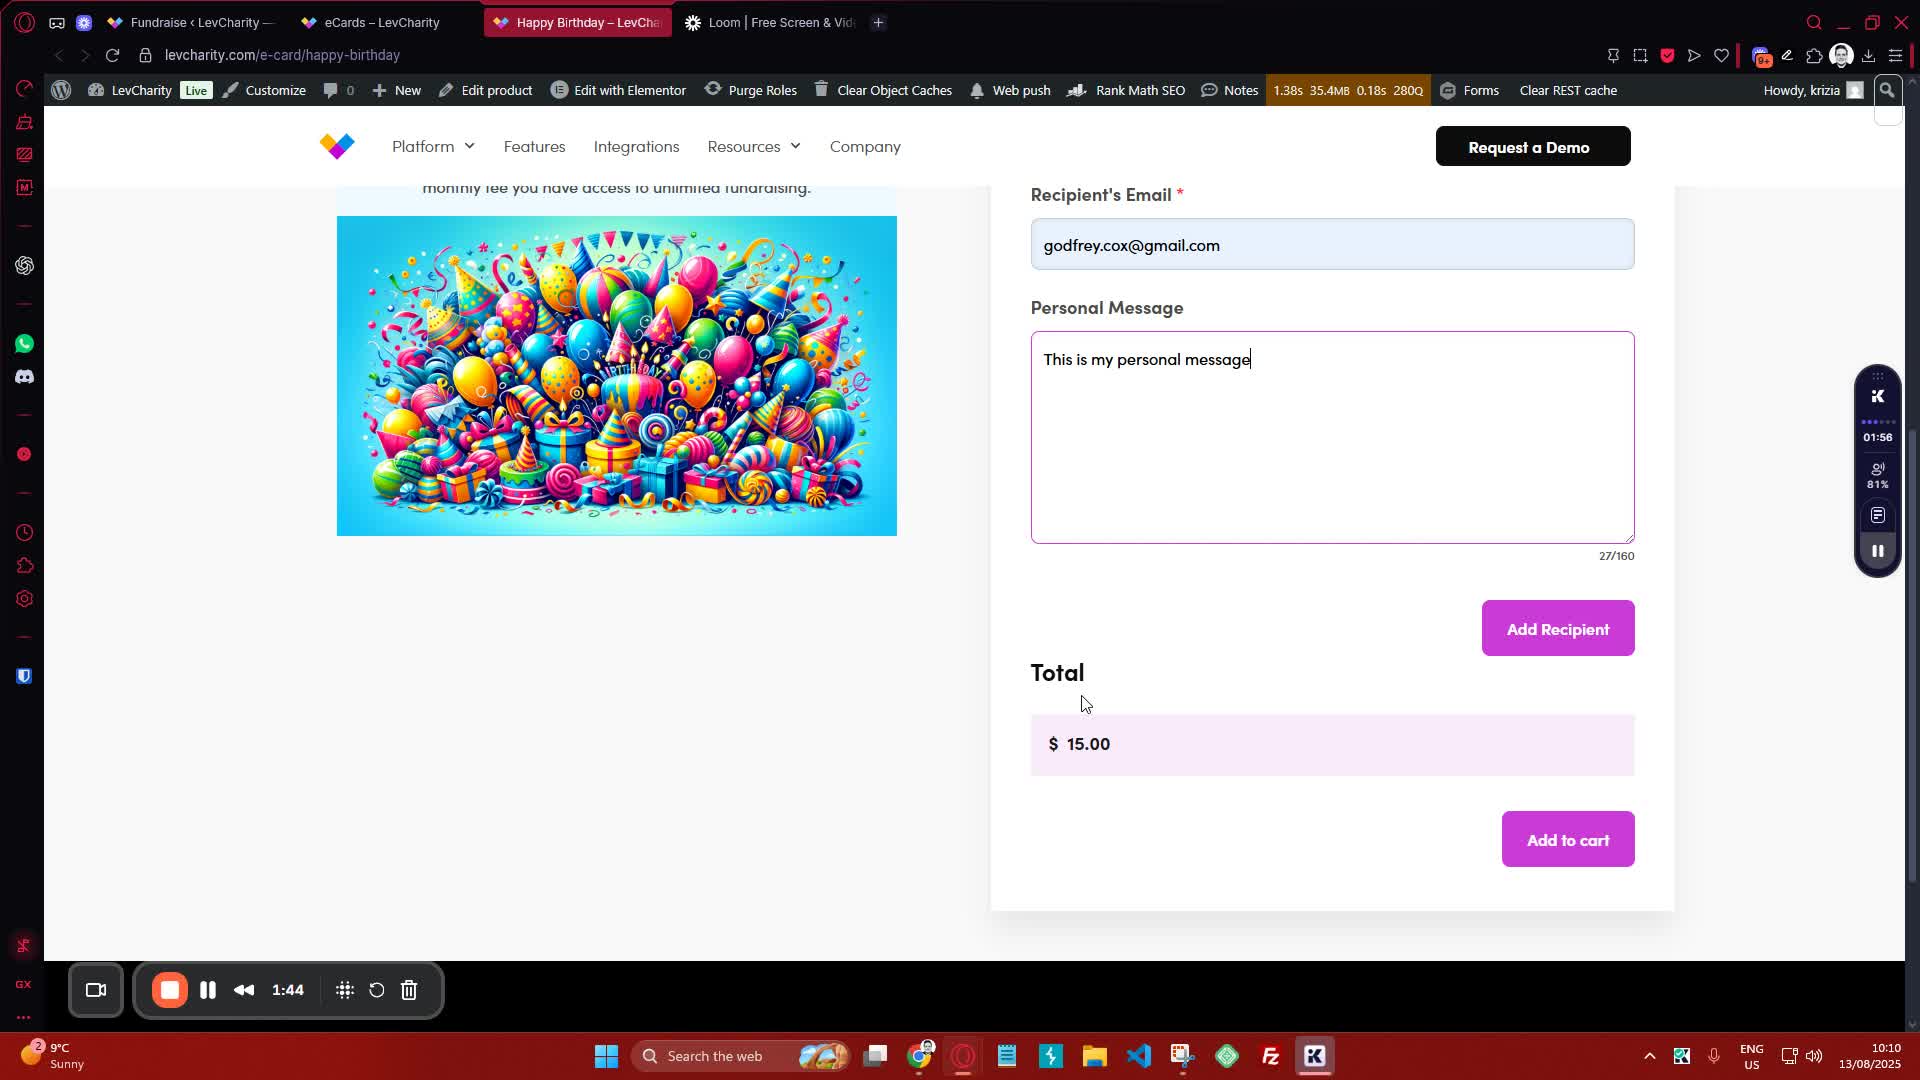
  • If necessary, add more recipients by selecting the option to add additional recipients.
  • Ensure that adding recipients does not affect the existing data.

5. Setting the Price 2:08

generated-image-at-00:02:08
  • Set the price for the e-card in the backend as required.

6. Finalizing the E-Card 2:16

generated-image-at-00:02:16
  • Once all information is entered and confirmed, add the e-card to the cart.

7. Checking Out 2:29

generated-image-at-00:02:29
  • Proceed to checkout to finalize the e-card purchase.

8. Sending the E-Card 2:40

generated-image-at-00:02:40
  • The e-card will be sent based on the selected date:
    • If sent today, it will be dispatched within two minutes.
    • If scheduled for a future date, it will be sent on that date.

Cautionary Notes #

  • Ensure all email addresses are entered correctly to avoid delivery issues.
  • Double-check the date selected for sending the e-card to ensure timely delivery.

Tips for Efficiency #

  • Use templates for common e-card designs to save time.
  • Regularly update the list of recipients to maintain accuracy.

Link to Loom #

Was this article helpful?
Still not sure? How can we help?

How can we help?

Updated on October 29, 2025
Managing E-Cards
Table of Contents
  • Objective
  • Key Steps
  • Cautionary Notes
  • Tips for Efficiency
  • Link to Loom
Join our newsletter

Add your email to stay up to date on features and new releases:

[sibwp_form id=1]
  • Docs
  • Changelog
  • Privacy Policy
  • Terms of Service
  • Cookies Settings
  • Docs
  • Changelog
  • Privacy Policy
  • Terms of Service
  • Cookies Settings